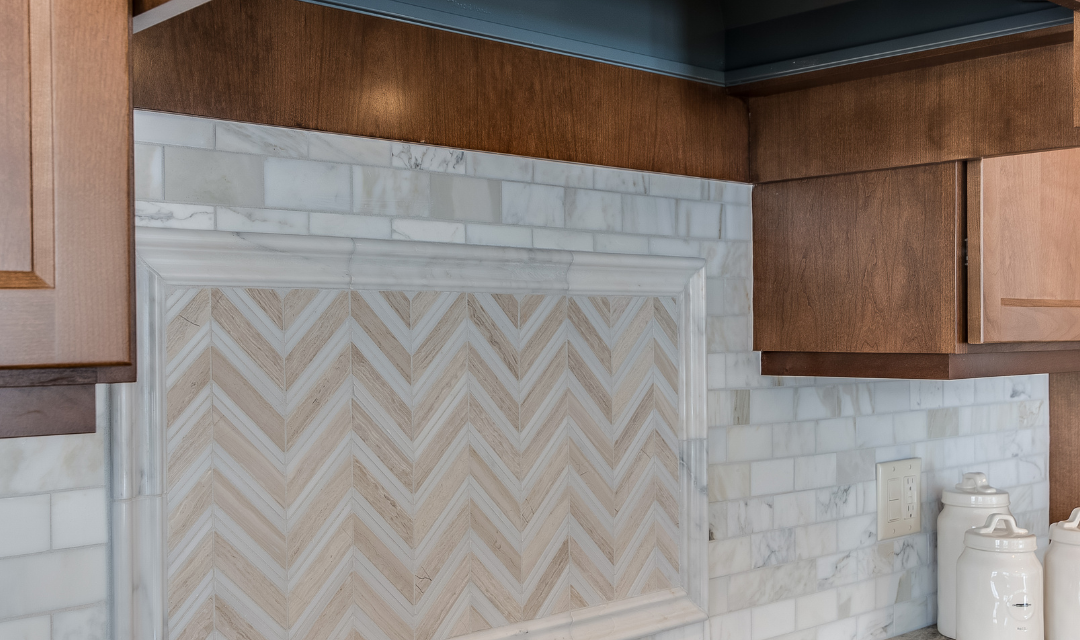
How to Install Peel and Stick Backsplash Like a Pro
Peel and stick backsplashes are an easy, affordable way to elevate your kitchen or bathroom design with minimal effort. Whether you’re a seasoned DIY enthusiast or just starting out, this step-by-step guide will ensure your installation is smooth, precise, and frustration-free.
Why Choose Peel and Stick Backsplash?
Peel and stick backsplashes are a game-changer for homeowners and renters alike. They’re affordable, versatile, and require no glue, grout, or special tools. Plus, their wide variety of designs can mimic the look of expensive tiles without the cost or hassle of traditional installation.
Ready to get started? Here’s how to do it right.
What You’ll Need
Before you begin, gather these essential tools and supplies:
- Your peel and stick backsplash tiles
- A measuring tape
- A pencil or marker
- A level or ruler
- A utility knife or sharp scissors
- A cleaning solution (mild soap or isopropyl alcohol)
- A lint-free cloth
- A plastic smoother
Step 1: Measure and Mark the Wall
Start by measuring the area of the wall you’ll be covering. This will help you determine how many tiles you’ll need and allow you to plan your layout. Use a pencil or marker to mark guidelines for the first row. Make sure the lines are level—this is crucial for a professional-looking installation.
Pro Tip: Work on one wall or section at a time to maintain accuracy and stay organized.
Step 2: Thoroughly Clean the Surface
For the tiles to adhere properly, the surface must be completely clean, dry, and smooth. Use a mild soap solution or isopropyl alcohol to remove grease, dust, and grime. Wipe with a lint-free cloth and allow the surface to dry thoroughly.
Note: Avoid textured or uneven surfaces, as the tiles may not stick well.
Step 3: Start at the Bottom Corner
Peel and stick backsplash installation works best when you start at the bottom corner of your wall or backsplash area. Align the tile with your guidelines and press it firmly into place.
Step 4: Peel and Stick Slowly
Peel back a small section of the backing paper from each tile, exposing just enough adhesive to get started. Align the edge of the tile with your guideline, then press it firmly onto the wall. Gradually peel away more of the backing paper, smoothing as you go to ensure the tile adheres properly.
Pro Tip: Avoid peeling off the entire backing paper at once. It’s easier to control placement when working in small sections.
Step 5: Trim as Needed
When you reach edges, outlets, or corners, measure the space precisely and use a utility knife or sharp scissors to trim the tiles to the correct size. Work carefully to ensure clean, straight cuts for a polished appearance.
Step 6: Smooth Out Imperfections
Once your tiles are in place, use a plastic smoother to press down firmly and eliminate any air bubbles or wrinkles. Pay special attention to corners and edges to ensure a seamless finish.
Final Touches
Step back and admire your work! Double-check for any loose edges or imperfections, and make any necessary adjustments. Congratulations—you’ve just installed your peel and stick backsplash like a pro.
Helpful Tips for a Flawless Installation
- Test First: Apply one tile in an inconspicuous area first to get a feel for the adhesive and placement.
- Work Slowly: Precision is key. Take your time to align each tile properly for a seamless look.
- Keep Tools Handy: Keep your utility knife, ruler, and smoother within arm’s reach to avoid interruptions.
Why You’ll Love Your New Backsplash
With your peel and stick backsplash installed, you’ve added style, functionality, and personality to your space. The best part? You accomplished it all without professional help—saving time and money while enjoying the satisfaction of a job well done.
If you’re looking for more ways to transform your space or need help choosing the perfect tile, check out our other DIY guides and design tips. Start your next project today!
