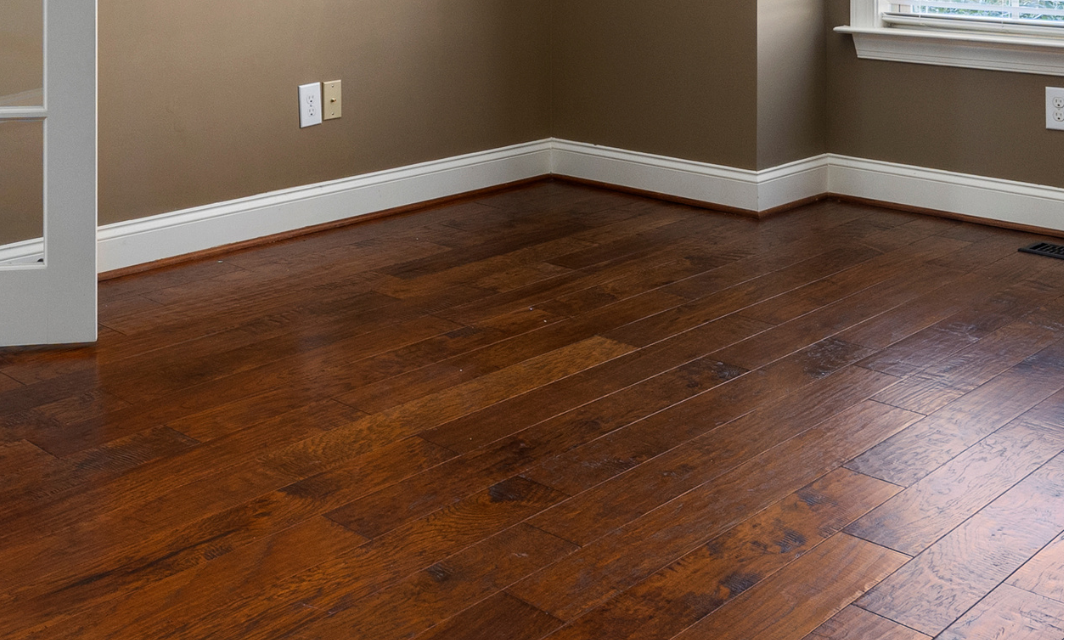
A Step-by-Step Guide to Flooring Installation
Installing new flooring can transform your space, whether you’re a homeowner refreshing your living room, a DIY enthusiast ready for a weekend project, or an interior designer putting the finishing touches on a dream home. Properly done, flooring installation enhances the beauty, functionality, and durability of your floors. Here’s a clear guide to ensure the process goes smoothly.
Step 1: Prepare the Subfloor
A solid foundation is key to successful flooring installation. Start by cleaning the subfloor thoroughly. Dust, debris, or moisture can interfere with installation and affect the longevity of your flooring.
- Level the subfloor: Check for any uneven areas or cracks. Fill low spots with a leveling compound and sand down high spots for a smooth, even surface.
- Check for moisture: Use a moisture meter to ensure the subfloor is dry, especially for wood or laminate flooring. Moisture can lead to swelling, warping, and other issues later.
This step prevents problems such as uneven surfaces or gaps between planks after installation.
Step 2: Remove Existing Flooring (if necessary)
If there’s an old floor in place, you may need to remove it before proceeding. Follow these steps:
- Evaluate the existing floor to determine whether it can serve as a base or needs to be removed entirely. For instance, tile or linoleum may need to be taken out, while a sturdy hardwood floor might just need an update.
- Remove carefully to avoid damaging the subfloor. Use the right tools, such as pry bars or utility knives, depending on the flooring material.
Step 3: Install an Underlayment (if required)
Some flooring types, like laminate or engineered wood, need an underlayment for added cushioning, moisture resistance, or soundproofing.
- Choose the appropriate underlayment based on your flooring type. Foam, cork, and rubber are common options.
- Lay the underlayment evenly across the subfloor, ensuring there are no wrinkles or gaps. Tape the seams securely to keep it in place.
Skipping this step or using the wrong underlayment can result in noise, uneven surfaces, or unnecessary wear to your new flooring.
Step 4: Acclimate the Flooring
Before installing the new floor, allow it to acclimate to the room’s conditions. This step is especially crucial for wood and laminate flooring, which can expand or contract with humidity changes.
- Timing: Place the flooring boxes in the room 48-72 hours before installation. Keep them in their packaging.
- Positioning: Lay the boxes flat in the middle of the room to ensure consistent acclimation.
Failing to acclimate the flooring could lead to buckling or gaps in the long run.
Step 5: Lay the Flooring
Follow the manufacturer’s instructions carefully for the best results. Different flooring types, such as hardwood, laminate, tile, or vinyl, may require unique techniques. Here are some general tips:
- Start from the right place: Typically, you’ll begin along the longest wall of the room or in a corner.
- Maintain expansion gaps: Leave a small gap (usually around ¼ inch) between the floorboards and the walls. This allows the flooring to expand and contract naturally with temperature and humidity changes.
- Check alignment regularly to ensure the planks are straight and tight-fitting.
- For interlocking planks, click them together securely, and for adhesive-based flooring, apply the right amount of glue for a firm hold.
Improper alignment or missed expansion gaps can cause shifting, buckling, and other issues over time.
Step 6: Finish with Trim and Transition Strips
Once the floor is completely laid, the final touches can make all the difference:
- Install baseboards or quarter-round molding around the room’s edges to cover the expansion gaps.
- Use transition strips where the flooring meets other materials (like tile or carpet) for a clean, seamless look.
Take your time with this step to ensure a polished, professional finish.
Common Challenges (and How to Avoid Them)
Understanding potential pitfalls can save you time, money, and frustration. Here are some common issues and tips to avoid them:
- Poor Subfloor Preparation: Spend extra time inspecting and leveling the subfloor for a smooth installation. Don’t skip this step!
- Moisture Issues: Double-check the subfloor’s moisture levels, and add a moisture barrier if needed.
- Incorrect Expansion Gaps: Always leave the recommended gap around the room’s perimeter to accommodate natural expansion.
- Not Acclimating the Flooring: Remember to acclimate your materials for at least 48 hours.
- Improper Joining of Planks: Ensure planks are securely connected, with no gaps or misalignments.
- Wrong Adhesives or Fasteners: Use products recommended by the flooring manufacturer to avoid issues like weak bonds or flooring damage.
By addressing these challenges, you’ll ensure a smoother installation process with long-lasting results.
Final Thoughts
Installing flooring doesn’t have to be overwhelming. With careful preparation, patience, and attention to detail, you can achieve professional-looking results that enhance the beauty and functionality of your home.
For more flooring tips, tricks, and advice, stay tuned to our blog—or reach out to one of our experts for personalized guidance. Whether you’re a homeowner, DIY enthusiast, or interior designer, we’ve got support and products to help bring your vision to life!
