")
Decks are a beautiful addition to any home, but over time, exposure to the elements can wear them down. To maintain their appearance and longevity, painting or staining your deck is a crucial step. Whether you’re a contractor, homeowner, DIY enthusiast, or deck renovator, this guide will walk you through the processes of deck painting and staining, highlight the key differences, and address common challenges.
Painting Your Deck
Painting your deck can give it a vibrant, opaque finish, providing ample protection against the elements. Here’s how to do it right:
Step-by-Step Guide to Deck Painting:
- Clean and Clear the Deck
Start by removing furniture, planters, and other objects from the deck surface. Sweep away any dirt or debris to prepare for a thorough cleaning.
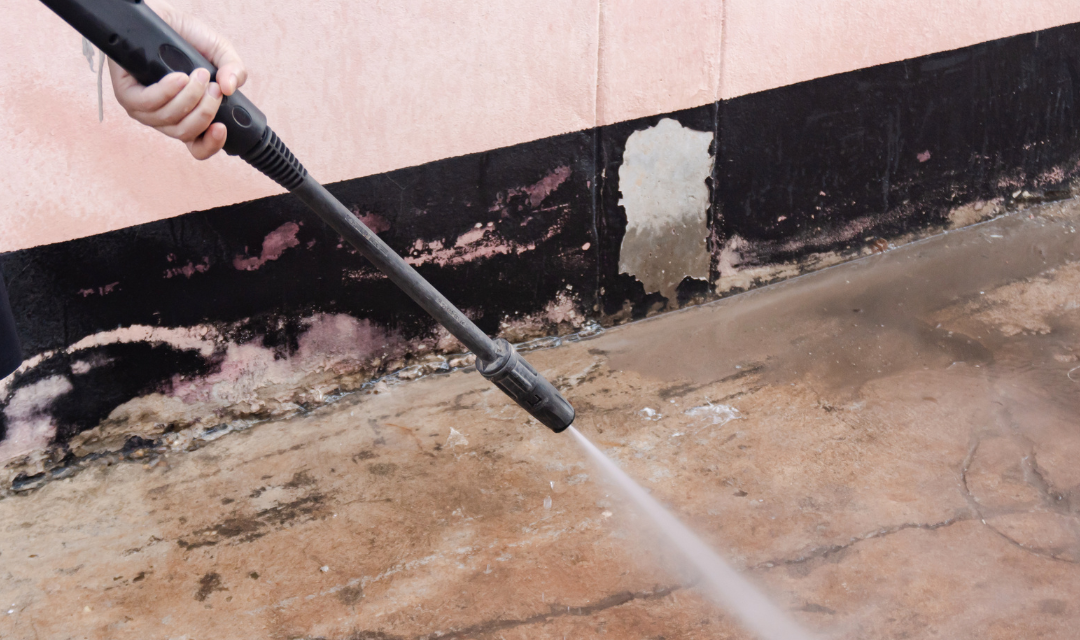
- Power Wash
Use a power washer to clean the surface and remove grime or mold. Ensure the deck dries completely before moving on to the next step.
- Sand the Deck
Lightly sand the deck to smooth rough areas and help the paint adhere better. Pay attention to splintered or uneven sections.
- Repair Damage
Check for cracks, loose boards, or splinters. Repair these areas before applying any primer or paint.
- Apply Primer
A primer is essential for deck painting. It ensures better paint adhesion and durability, creating a strong base for the following layers.
- Paint Application
Using a high-quality exterior deck paint, apply the first coat evenly. Allow it to dry completely before applying additional coats. Two to three coats are typically recommended for the best results.
Pro Tip: Always check the weather forecast before painting. Avoid painting on days with high humidity, rain, or extreme temperatures to prevent uneven drying or peeling.
Staining Your Deck
Deck staining enhances the natural beauty of wood, showcasing its grain while providing protection. Here’s how to stain your deck effectively:
Step-by-Step Guide to Deck Staining:
- Clean and Clear the Deck
Clear the deck of furniture and debris. Sweep and remove loose dirt to prepare for deep cleaning.
- Power Wash
Just like deck painting, use a power washer to clean off dirt and mildew. Be gentle enough to avoid damaging the wood.
- Sand the Deck
Sand the surface lightly to help the stain absorb more evenly. Remove splinters and ensure a smooth finish.
- Apply Stain
Following the manufacturer’s instructions, use a brush, roller, or sprayer to apply a coat of deck stain. One coat is usually sufficient, but always consult the product guidelines. Allow proper drying time before walking on the deck or adding furniture.
Pro Tip: Test the stain on a small, inconspicuous area to ensure you like the color and finish.
Key Differences Between Painting and Staining
Before deciding on painting or staining your deck, it’s essential to understand their differences.
- Primer
Painting requires a primer for proper adhesion and durability. Staining typically does not.
- Number of Coats
Painting generally involves multiple coats for even coverage and protection. With staining, one coat is often enough, depending on the product.
- Appearance
Paint offers a solid, opaque finish, hiding the natural wood grain. Stain enhances the wood’s texture and grain, leaving a semi-transparent or transparent finish.
Keep in Mind: The look you want to achieve and the level of maintenance you’re prepared for will guide your decision. Painted decks require more maintenance over time as paint is prone to peeling, while stains may fade but are easier to reapply.
Common Challenges and How to Avoid Them
Even with careful preparation and execution, certain challenges can arise when painting or staining decks. Here’s how to handle common issues:
- Skipping Preparation
Failing to clean or sand the deck properly can lead to uneven coverage and poor adhesion.
Solution: Always start with a clean, sanded surface to ensure long-lasting results.
- Applying Too Much Product
Thick layers of paint or stain can lead to uneven drying, peeling, or bubbling.
Solution: Apply thin, even coats and allow each coat to dry thoroughly before applying the next.
- Weather Conditions
Painting or staining in humid or rainy weather can compromise the finish.
Solution: Choose a day with mild temperatures and dry, sunny conditions.
- Wrong Finish Choice
Using a finish incompatible with your deck’s material can lead to premature wear or fading.
Solution: Choose a product designed for your specific wood type and outdoor conditions.
- Premature Fading
Decks exposed to direct sunlight may fade more quickly.
Solution: Use UV-resistant paints or stains to protect against sun damage.
- Peeling or Chipping Paint
Peeling often occurs when surfaces were not properly sanded or prepped.
Solution: Sand and clean thoroughly before applying primer and paint.
- Not Enough Drying Time
Rushing the process can result in smudging or uneven finishes.
Solution: Follow the manufacturer’s drying time instructions between coats.
By being mindful of these challenges, you can ensure your deck looks stunning and is protected for years to come.
Final Thoughts
Whether you choose to paint or stain your deck, proper preparation and application are key to achieving a beautiful, durable finish. Painting offers a bold, solid color, while staining highlights the wood’s natural beauty. Neither option is inherently better—it all depends on the look and maintenance level you prefer.
If you take the time to prep your deck properly, select high-quality products, and follow the steps outlined above, your efforts will pay off in the form of a stunning outdoor space.
Your deck deserves the best care. Which method will you choose—painting or staining? Share your thoughts or questions in the comments below!
continue reading
Related Posts

Curabitur aliquet quam id dui posuere blandit mauris blandit aliquet elit.

Curabitur aliquet quam id dui posuere blandit mauris blandit aliquet elit.
Curabitur aliquet quam id dui posuere blandit mauris blandit aliquet elit.