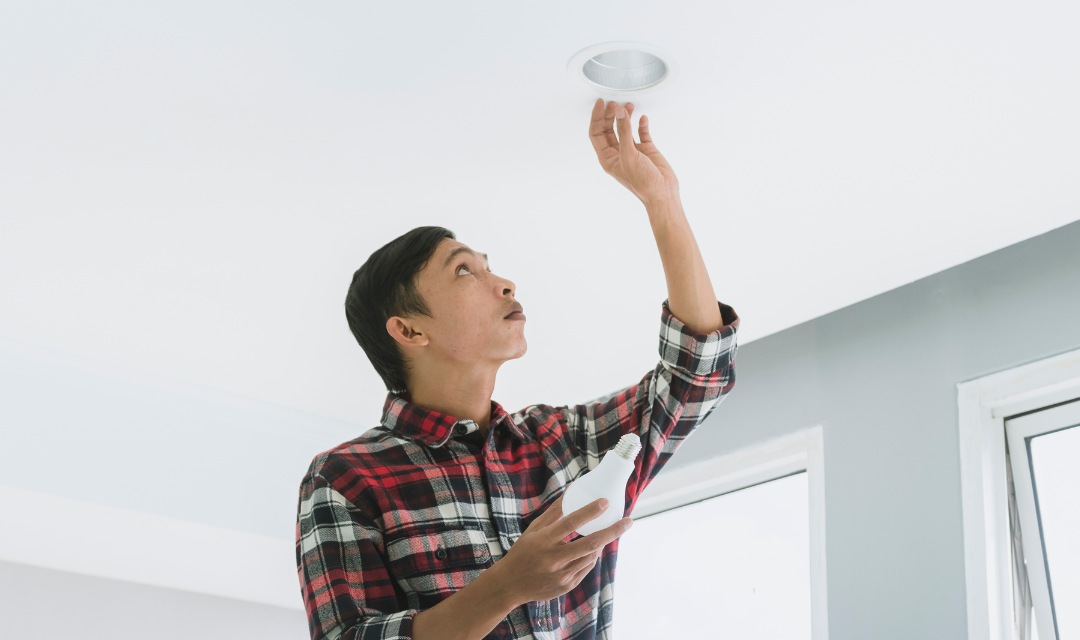
Whether you’re looking to brighten up a space or upgrade to a more energy-efficient option, replacing a light fixture can make a big difference in your home. The good news? With the right tools and knowledge, it’s a task most homeowners and DIY enthusiasts can handle safely. Follow this step-by-step guide to replace a light fixture with confidence.
Tools You’ll Need:
- Screwdriver
- Wire cutters/strippers
- Wire nuts
- Voltage tester
- Insulated gloves
- Stable ladder
Always read the instructions included with your new light fixture—they may contain specific steps or details for installation.
Steps to Replace a Light Fixture
Step 1: Turn Off the Power
Your safety comes first. Locate the circuit breaker that controls the light fixture and switch it to the “off” position. Use clear labeling or turn off power to the entire house if you’re unsure.
Step 2: Confirm the Power is Off
Before touching any wires, use a non-contact voltage tester to verify there is no live electricity running to the fixture. This additional step can prevent possible electrical shock.
Step 3: Remove the Old Fixture
- Unscrew and detach the existing fixture carefully.
- Disconnect the wires by unscrewing the wire nuts or separating the connections.
- Make note of how the wires are connected—this will guide you when installing the new fixture.
Step 4: Inspect the Wires
Check for any damage to the wires in the ceiling. Cracked insulation or frayed wires should be repaired or replaced before proceeding.
Step 5: Connect the New Fixture’s Wires
- Read the instruction manual that came with your new fixture to understand its wiring and requirements.
- Attach the new fixture’s wires to the ceiling wires. Usually:
- Black (hot) goes to black
- White (neutral) goes to white
- Green or bare copper (ground) connects to the ground wire or grounding screw.
- Use wire nuts to secure the connections. Ensure the connections are tight and well-insulated to prevent electrical issues.
Step 6: Secure the Fixture to the Ceiling
- Attach the new fixture to the mounting plate using screws provided in the kit.
- Ensure it is securely fastened and doesn’t wobble.
Step 7: Restore Power
Once the fixture is installed, return to the circuit breaker and turn the power back on. Test the fixture by switching on the light.
Important Safety Tips
- Turn off power at the breaker. Never rely on just the light switch being off; always turn off the power at the circuit breaker.
- Use a voltage tester. Double-check that there’s no electricity before working with wires.
- Work with dry hands only. Wet hands can conduct electricity and increase the risk of shock.
- Use insulated tools. This reduces the risk of accidental electric shock.
- Secure your ladder. Make sure your ladder is stable and safely positioned.
- Follow wiring color codes. Misconnecting wires can cause shorts or hazards.
- Proper grounding. Always ensure the ground wire is correctly connected for safety.
- Do not overload circuits. Double-check that the wattage of your new fixture matches the circuit capacity.
- Ask for help. Consider having an assistant hold the fixture while you connect the wires. A second set of hands can make this process much easier.
- Consult a professional. If you feel unsure at any step, it’s worth contacting a licensed electrician.
When to Call an Electrician
If the wiring looks damaged, you’re unable to determine which circuit powers the light, or you feel uncertain at any point, it’s safer to have a professional inspect and complete the installation.
Why Replace Your Light Fixtures?
- Energy Efficiency: Older fixtures may not support LED or energy-efficient bulbs. A new fixture can save energy and reduce your electricity bills.
- Style Upgrade: Light fixtures often serve as focal points in rooms. Replacing outdated fixtures can instantly refresh your space.
- Improved Safety: Worn or damaged fixtures can pose a fire hazard. Upgrading ensures everything is up to code.
Replacing a light fixture is an approachable DIY task when handled safely and with attention to detail. By following the steps outlined above, you’ll not only improve the functionality and look of your space but also gain the satisfaction of completing the project yourself.
Got a specific question or need professional advice? Don’t hesitate to consult an electrician!
continue reading
Related Posts
Curabitur aliquet quam id dui posuere blandit mauris blandit aliquet elit.
Curabitur aliquet quam id dui posuere blandit mauris blandit aliquet elit.
Curabitur aliquet quam id dui posuere blandit mauris blandit aliquet elit.


