Drywall serves as the backbone of modern interior walls and ceilings. Whether you’re a DIY enthusiast tackling your first project, a homeowner addressing small repairs, or a contractor refining your skills, this guide will take you through the key steps of drywall installation and repair while addressing common challenges along the way.
Drywall Installation
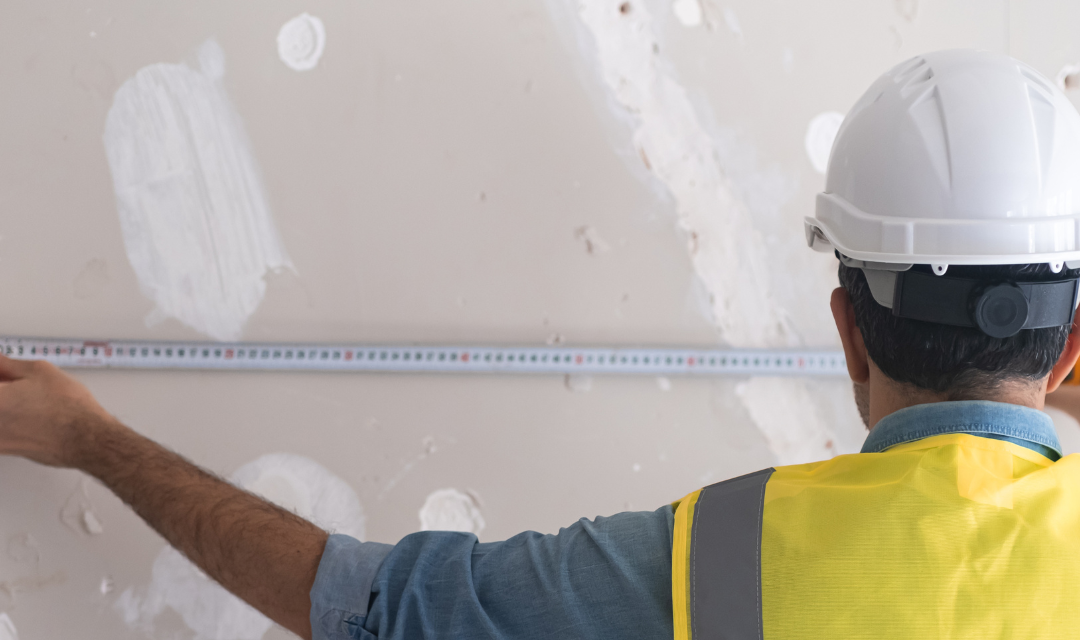
Step 1: Measuring and Cutting Drywall Panels
- Measure the area carefully, noting any fixtures or openings to cut around.
- Use a utility knife to score the drywall along a straight edge, then snap it along the score line for a clean cut.
- Trim excess using a drywall saw or knife, ensuring precise edges.
Step 2: Attaching Drywall to Studs
- Align the drywall sheet with the studs and secure it using drywall screws.
- Place screws approximately 12 inches apart, ensuring they sit slightly below the surface without tearing the paper facing.
Step 3: Filling Seams with Joint Compound
- Apply a layer of joint compound (mud) along the seams between drywall sheets using a 6-inch taping knife.
- Spread evenly to avoid lumps or ridges.
Step 4: Applying Drywall Tape
- Press drywall tape onto the freshly applied joint compound, ensuring it’s smooth and free of air pockets.
- Lightly cover the tape with a thin layer of compound, feathering the edges for a seamless transition.
Step 5: Sanding the Surface
- Once the compound is dry, use fine-grit sandpaper or a sanding sponge to smooth the surface.
- Remove all ridges and ensure the seams blend seamlessly with the drywall.
Step 6: Priming Before Painting or Finishing
- Before painting or texturing, apply a coat of drywall primer to ensure a uniform finish.
- Choose a primer that’s suitable for your paint type (oil-based or water-based).
Drywall Repair
Step 1: Patching Holes
- For small holes, apply joint compound directly and smooth it out.
- Larger holes require a drywall patch. Cut a piece of drywall slightly larger than the hole, secure it in place, and apply joint compound and tape as you would for seams.
Step 2: Handling Dents and Dings
- Use a putty knife to fill dents and small surface imperfections with joint compound.
- Allow to dry, then sand smooth.
Step 3: Repairing Cracks
- For minor cracks, widen them slightly with a utility knife to allow joint compound to adhere better.
- Apply compound, tape over the crack, and finish with additional layers of compound, sanding between coats.
Step 4: Addressing Uneven Surfaces
- Sand down bumps or high spots.
- If a surface dips, fill the area with joint compound, feathering it out to ensure smooth integration.
Step 5: Replacing Water-Damaged Drywall
- Cut away any damaged sections, ensuring all wet or moldy material is removed.
- Replace with a new drywall panel, tape the seams, and finish with joint compound.
Step 6: Dealing with Nail Pops
- Remove the popped nail and replace it with a longer drywall screw.
- Cover the area with joint compound, sand smooth, and touch up with paint.
Step 7: Applying Corner Beads
- For outside corners, attach corner beads to protect edges and ensure a clean, professional finish.
- Cover with joint compound and feather the edges to blend smoothly.
Step 8: Resolving Discolored Drywall
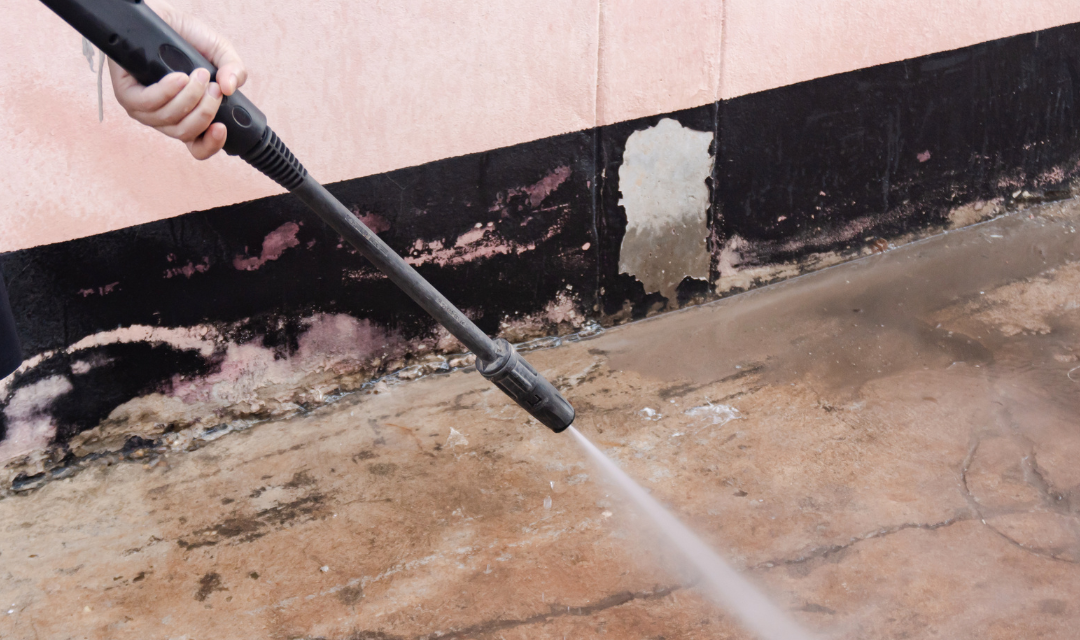
- Stains or discoloration often indicate past issues like water damage or mold.
- Address the underlying cause (leaks, humidity) before applying stain-blocking primer and repainting.
Common Challenges and Solutions
- Uneven Surfaces: Sand thoroughly and apply thin layers of compound for a smooth finish.
- Moisture and Mold Issues: Install moisture-resistant drywall in humid areas like bathrooms and basements to prevent future problems. Always address leaks promptly.
- Challenging Angles and Corners: Use flexible corner tape or custom-cut panels to fit tricky angles.
Key Tips for Success
- Always work in a well-ventilated area, especially when sanding.
- Clean your tools after every use to ensure smooth application.
- Use drop cloths to protect floors and furniture from dust and debris.
With proper techniques and a bit of patience, drywall installation and repair can be straightforward and rewarding. Armed with this guide, you’re ready to achieve professional-looking results while tackling common issues with confidence.
continue reading
Related Posts
Curabitur aliquet quam id dui posuere blandit mauris blandit aliquet elit.
Curabitur aliquet quam id dui posuere blandit mauris blandit aliquet elit.
Curabitur aliquet quam id dui posuere blandit mauris blandit aliquet elit.


